Indexing Documents in BDMS
Index All Pages to Same ID and Document Code
NOTE: To index each page of a stack separately (either to different people or different codes) DO NOT click the New Document button, instead click New Batch.
- Click the New Document button and scan in the desired pages.
- Index according to your Department Standards.
- Click Save to save all scanned pages as one document.
NOTE: Every document repository (cabinet) has its own unique field types. Below B-S-DGRE is used as an example.
Index the First Page
- Ensure page one is displayed.
- If not, use the next page or previous page buttons.
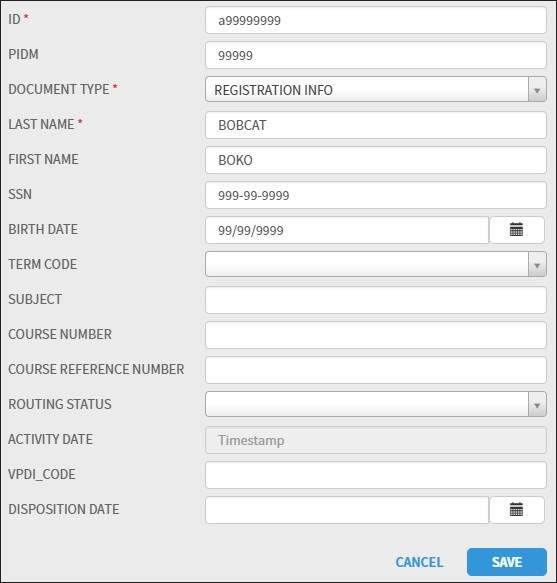
Enter ID and Other Information
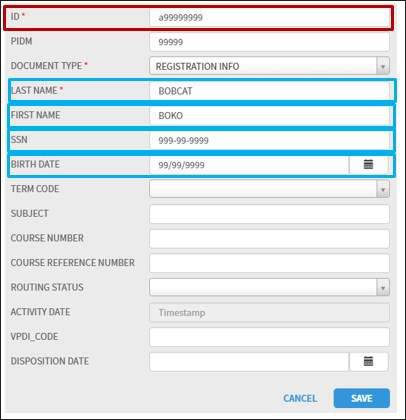
- In the ID field, enter the student's Banner ID, and press the TAB key.
The Last Name, First Name, SSN (if available), and Birth Date will display. Ensure the student's information is correct (you have the correct student).
- If not, click Clear Index button and re-enter the ID or retype the number and press the TAB key.
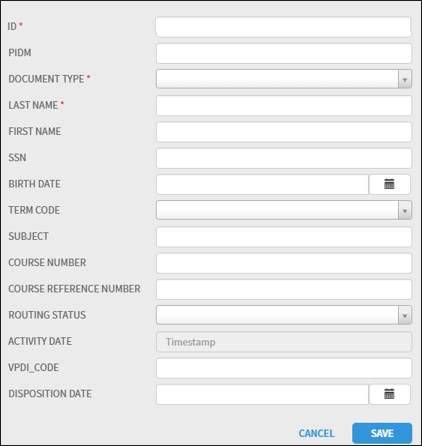
Additional Index Fields
Add the data to the remaining index fields. Required fields are marked with a red asterisk.
Activity Date
The Activity Date is the date the images are indexed and cannot be changed.
Index Each Page Separately to Different ID or Code
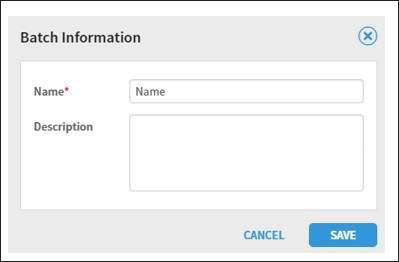
- To index each page of this stack separately, either to different people or different codes, click New Batch.
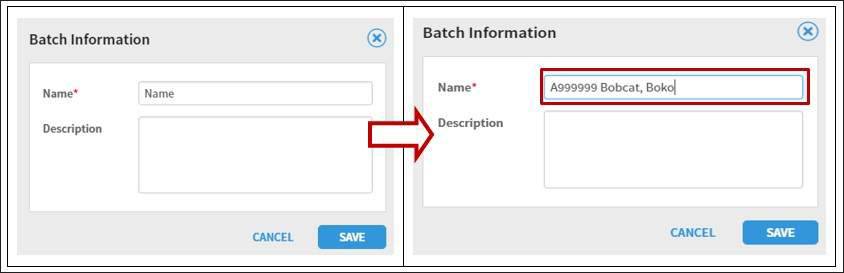
- Enter a batch name, and scan in the desired pages.
TIP: Use the person's name, Banner ID, or both if the batch contains images for just one person.
Batch Processing
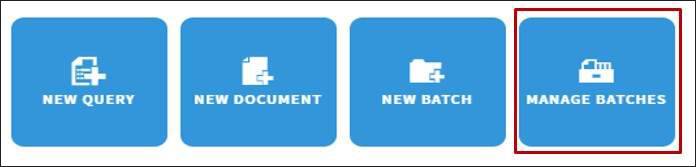
- Click Manage Batches in your application.
- If not previously selected, click an application.
If there are more than 25 batches, you will see the First, Next, Previous, and Last Page buttons. Click as needed to see additional screens.

Batch names should match the name on the cover note attached to the paper stack, if using cover notes, or the person's name and/or ID. The number of images in the batch and the timestamp of when the batch was created are displayed.
The batch list contains all current batches of scanned images. Once a batch is completely indexed, the batch is gone. Batches not yet completed will remain.
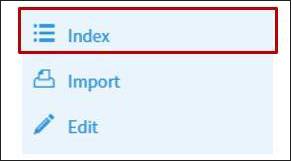
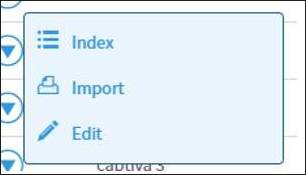
- Click the drop-down on the batch to be indexed and selected index.
The first page of the batch will display.
- Change the default name to match the name of the stack as shown on the Cover Note, then click Save.
Ensure Accuracy of the Electronic Batch
Before indexing any page, use the Next Page and Previous Page buttons to review each page in the electronic batch against the stack of pages to ensure each page is legible, a true and accurate representation of the original paper page(s), and that no pages are missing. If there ware any problems, pull those pages out of the batch to be re-processed.
Sort a Batch List
- Name: click once to sort the the batch in ascending order by batch name. Click again to sort in descending order.
- Timestamp: click once to sort the batch in ascending order by time saved. Click again to sort in descending order.
Rename a Batch
- Click on the drop down arrow to the right of your created batch.
- Click Edit.
- Change the default name to match the name of the stack as shown on the Cover Note, then click Save.

Delete Batch
Only delete a batch that was created in error and when you are SURE it is an error. Only delete your OWN batches.
- Ensure the batch status is idle, check the box next to each batch to be deleted, then click Force Delete.

- Click Delete to confirm.
If you index all images in the batch, the batch will be automatically deleted.
Index the First Image
- Open the batch.
- Click on the drop down next to the batch, and click Index. The first image will display.
When indexing a batch, you may index each page to different IDs or different codes. Index according to your Department Standards.
NOTE: Every document repository (cabinet) has its own unique field types. Below B-S-DGRE is used as an example.
Index the First Page
- Ensure page one is displayed. If not click Next Page or Previous Page.
- Enter ID and Other Information.
- In the ID field, enter the student's Banner ID, and press the TAB key.
The Last Name, First Name, SSN (if available), and Birth Date will display.
- Ensure the correct Student Information displays. If not, click Clear Index, and re-enter ID or re-enter the number, and press the TAB key.

TIP: The Activity Date is the date the images are index and can not be changed.
All Entries Complete
- When all entries in the Index Pane are complete, ensure that the images shown in the Document View are correct and the index fields are correct, and click Save.
- Continue indexing until you reach the last page in the batch.
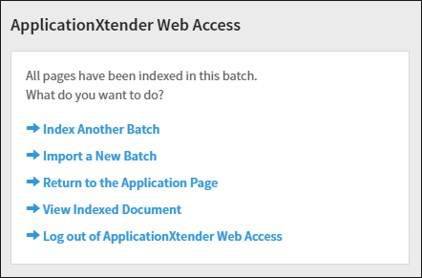
Once you reach the last page in the batch, you will see the following message: All pages have been indexed in this batch.
Correct an Error in an Index Later
- Open the document.
- Show the index field by clicking the blue arrow tab.
- Click Modify, and make all corrections.

- If changing the Banner ID, be sure to press the TAB key after entering the ID to ensure it's the right person, then click Save.
TIP: If indexing the entire document, you are finished at this point. If batch indexing, the next image will display.
Copy or Move Documents from One Cabinet to Another
If you accidentally indexed a document to the wrong cabinet, you can MOVE the pages to a batch which allows you to index each page again.
TIP: If you do not have Delete privileges, you will need to Copy the images to a batch, index the batch, and then ask someone with delete privileges to delete the document that you have copied.
Copy or Move the Document to a Batch
- Open the document.
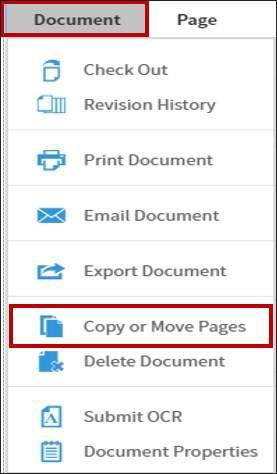
- On the menu bar, click Document, and click Copy or Move Pages.
NOTES:
- Ensure the number of pages is correct or specify which pages to move or copy.
- Ignore included page versions.
- Leave the Target Application as the application displayed.
- Leave the default Target Batch Name if you intend to index the images now or change the Name to anything that indicates the contents of this batch of images.
- Ignore Index New Batch document.
- If Move is not grayed out, click Move.
- If Move is grayed out, click Copy.
- The original document will still exist, and you will need to ask someone in your department with the ability to DELETE a document to delete the document indexed in error.
- A batch with just this document will be on the Batch List with the Target Batch Name as entered. Now you can call up the batch and index the batch page by page.
^ back to top