

How to Enable OneDrive Sync on a University-Owned Windows Computer
NOTES:
- OneDrive Sync is only available on university-owned Windows computers. It is not available for personal computers.
- You will need to download Enable OneDrive Sync via Software Center.
- Once downloaded, you will need to restart your computer.
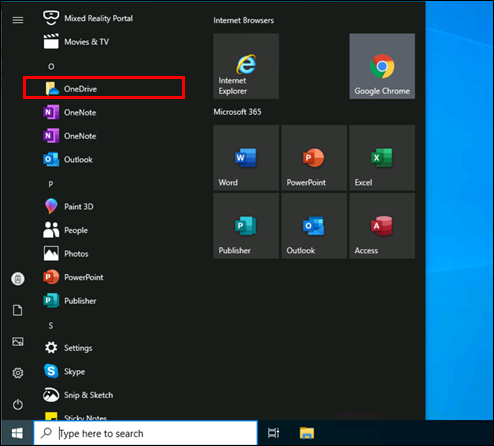
- Click the Start menu, then click OneDrive.
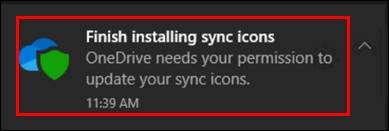
- Click on the Finish installing sync icons notification.
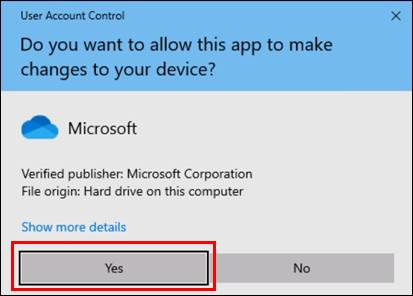
- Click Yes.
NOTE: This action does not require administrative credentials.
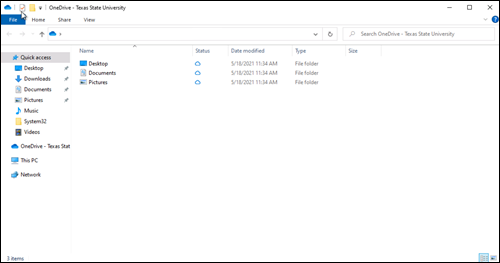
Your OneDrive folder will open.
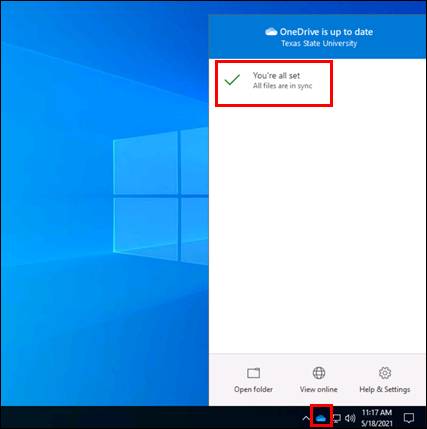
- Click on the OneDrive icon on your toolbar. If your files are actively syncing, you will see You're all set in the window.
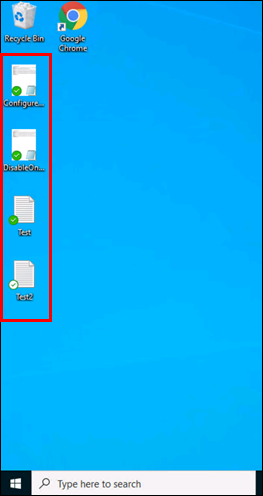
Files on your desktop, as well as in your Pictures and Documents folders, will begin syncing. An icon with a green check will overlay the synced files.
Congratulations! You have successfully setup OneDrive Sync on your university-owned Windows computer.