How to Switch Your M365 License for Copilot
Copilot is still in its pre-adoption phases. Information about MS Copilot chat is relevant for all faculty and staff members. The information related to MS 365 Copilot is only pertinent to advanced Copilot license holders at this time.
NOTE: Mac users do not need to switch licenses to use Microsoft Copilot.
Step 1: Check your M365 License Type
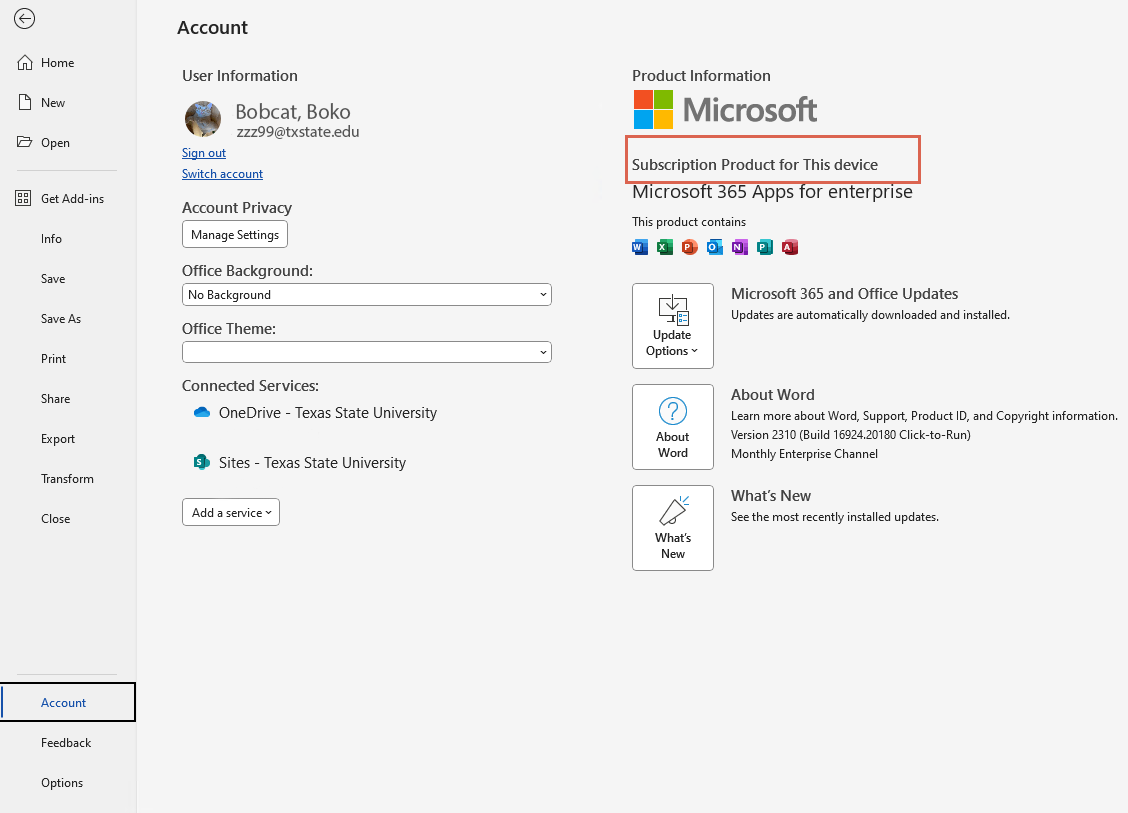
- Open a Microsoft desktop software like Microsoft Word and go to File, then Account.
- The license type will be listed in the About section.

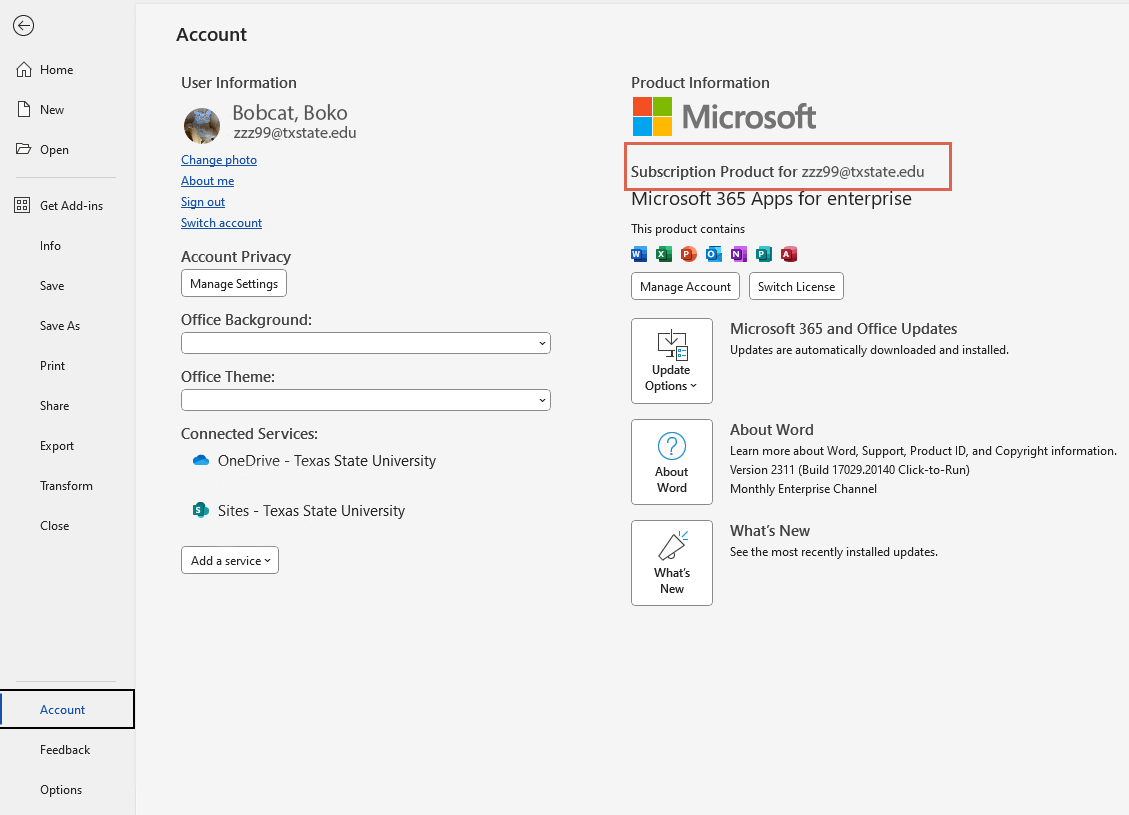
If the description states Subscription Product for this device, you will need to proceed to step 2. If it states Subscription Product for your TXST email, no further action is needed.
Step 2: Switch Your M365 License
NOTE: If you are using a TXST-owned computer off-campus, make sure to connect via VPN before using Software Center.
- Click the Windows Start icon at the bottom of your desktop.
- Click Microsoft EndPoint Manager or Microsoft Configuration Manager. The name will depend on the version of Windows you are running.
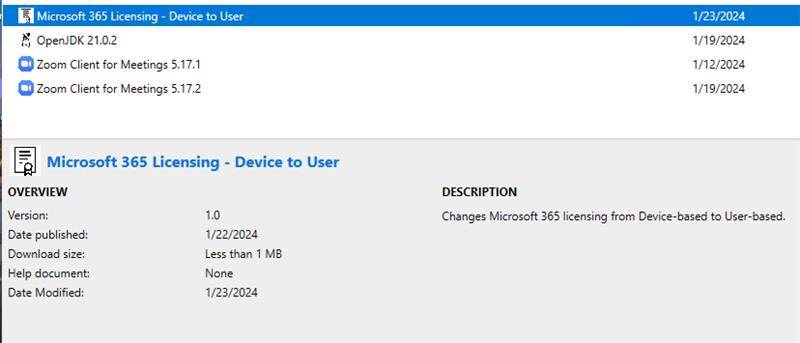
- Click Software Center.
If you do not see Software Center, contact ITAC for assistance. - Select and download the Microsoft 365 Licensing - Device to User software. This will change your current Microsoft 365 license from device-based to user-based, which will allow Copilot to work.

- Once applied, you will need to repeat the step 1 instructions above. Your license description should now state Subscription Product for your TXST email.
 In the next day or so, the Copilot icon will begin appearing in Microsoft 365 applications including Teams, Word, Outlook, Excel, and PowerPoint.
NOTES:
- The Copilot service may require a restart of your application, or a restart of the desktop before the feature’s options appear.
- Initially, you may receive licensing error messages. Those will resolve.