How to Remotely Access a Windows Computer from Another Windows Computer
NOTE: Before you can remotely access your Windows computer, you have to set the computer to allow remote access. Learn how to set up your Windows computer for remote access. If you take a laptop off campus and need access to the Texas State University network, please contact ITAC for alternative access methods.
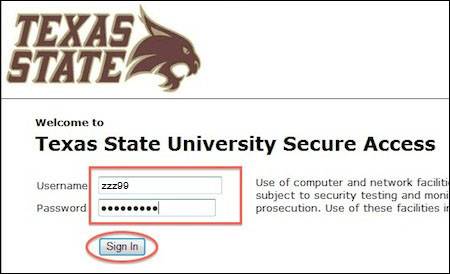
- Go to https://remoteaccess.txstate.edu to setup your VPN connection through Texas State's Secure Access Website.
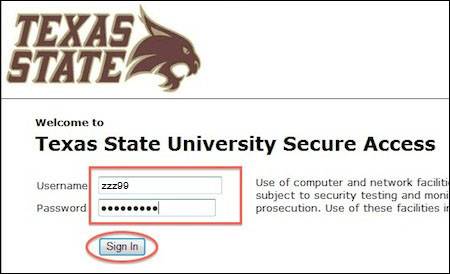
- Enter your NetID and your NetID password, then click Sign In.
- When you login for the first time on this computer, you may be prompted to install a necessary ActiveX control on your system. Click click here on the information bar.
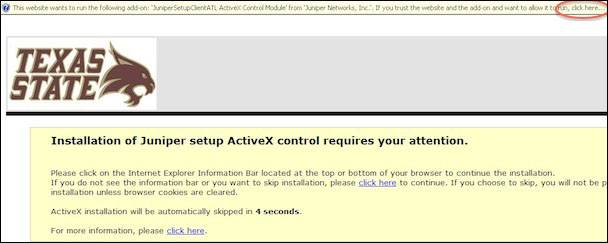
- If you are prompted to trust the Juniper Network, Inc. add-on, click Run Add-on.

- The Terminal Session window will appear. Click the add computer icon located in the top right corner of the Terminal Sessions section to add the computer you will be remotely accessing.

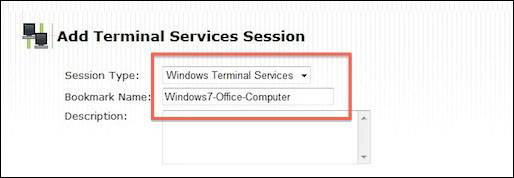
- For Session Type, select Windows Terminal Services.
- Enter a Bookmark Name for the computer you will access (e.g., Windows7-Office-Computer).
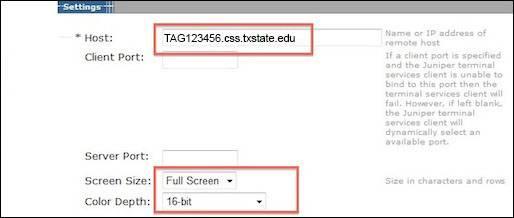
- Under Settings, in the Host field enter the remote desktop access name (e.g., TAG123456.css.txstate.edu) of your computer. Leave the Client Port and Server Port fields blank. Select Full Screen from the Screen Size. Select 16-bit from the Color Depth drop down menu.
- Under Session, enter <USER> for the username and leave the other fields blank.
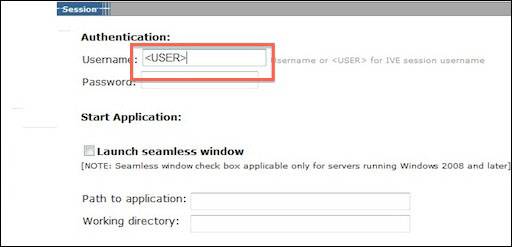
NOTE: If you did not log in to your computer with your NetID and password, enter the username and password you use to log into your computer.
- Click Add to create this Terminal Services session for future use.

- You should now see your Terminal Services link within the Terminal Sessions section as shown below.

- We are now ready to access your host computer using the remote computer. On the remote computer, go to https://doit.txst.edu/services/vpn.html.
- Enter your NetID and password, then click Sign In.
- Click the Terminal Sessions you created.

NOTE: Please be patient, as this process may take a few minutes.
Congratulations! You have successfully remotely accessed a Windows computer from another Windows computer.